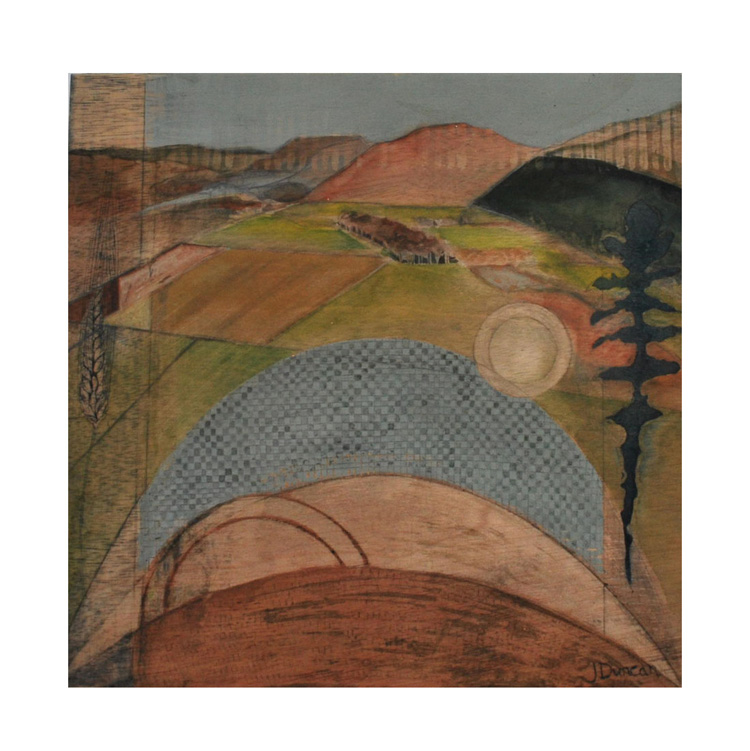
Making ink from oak galls

By Jean Duncan

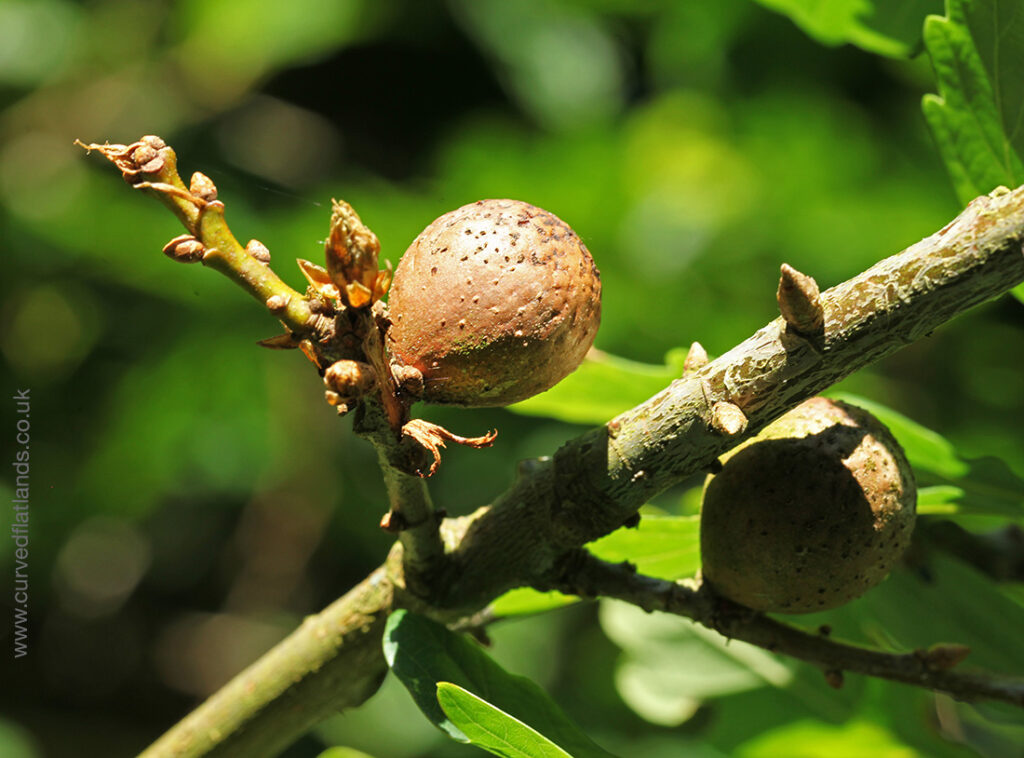
Oak galls are small spherical growths that form on oak trees where the gall wasp lays its eggs in the buds of the tree. The tree grows tissue around the egg which protects the wasp until it hatches, leaving a hole. Watch out for a hole in the gall before harvesting.

The end of the summer is a good time to harvest, I find the galls are easier to spot once the leaves have fallen. If you can’t find them, you can buy oak gall powder/whole oak galls online [1].

Drawing Ink

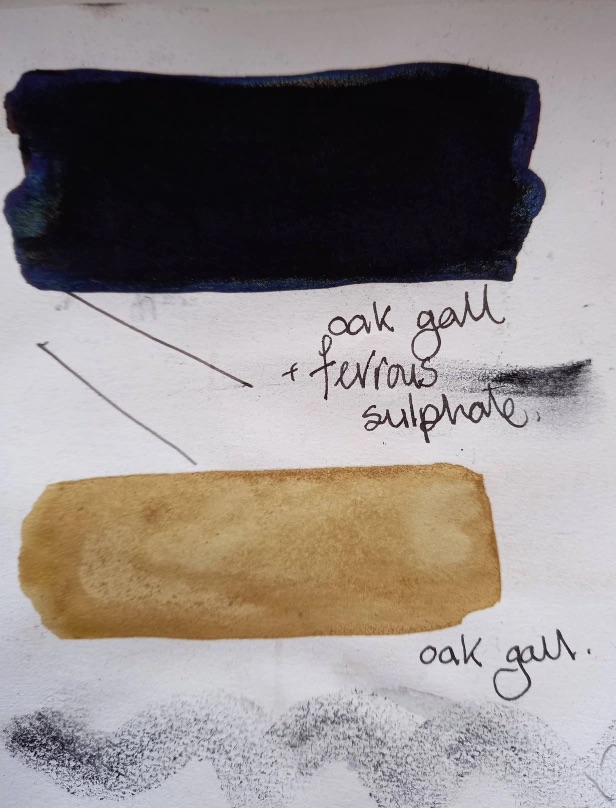
With the addition of iron, oak galls make a permanent ink. The method involves a reaction between tannic acid extracted from the galls and ferrous sulphate. The ink would once have been used with a quill and later a dipping pen.

Oak gall ink can still be seen on early manuscripts, though many are damaged due to the acidity of the tannic acid, which eats away at the natural fibres of paper, parchment or vellum [2]. To avoid such damage, recipes now use less ferrous sulphate.

Wet oat gall ink on paper (Jean Duncan)

Recipe This makes 250 ml of ink.

To make a permanent oak gall ink you will need ;

  • 30 g of whole oak galls or oak gall powder.
  • Pestle and mortar
  • Scales
  • Rain water
  • Muslin
  • 15 g ferrous sulphate powder *
  • 7 g gum arabic solution
  • Glass jar for storage.

*Can be purchased as blue green crystals or white powder.

Colour from oak galls can be used alone, but the addition of ferrous sulphate makes the ink permanent and black (Jean Duncan)

Method

  1. Crush the oak galls with a pestle and mortar or put them in a bag and mash them with a hammer.
  2. Add 30 g oak gall powder to 25 ml of water and leave to soak for 24 hrs.
  3. Strain the liquid through the muslin.
  4. Mix the ferrous sulphate into the strained solution.
  5. Add the gum arabic and stir well
  6. Add oil of cloves or any other essential oil to help it keep for longer and store in the fridge. 
  7. Try using the ink with a pen and a brush to see that it flows well, if the ink has a dusty surface add more gum arabic.

It is worth experimenting with washes of ink, as it turns blacker when it reacts with oxygen from the air.

Oak gall ink reacting with barley ink made from orzo coffee grounds (Jean Duncan)

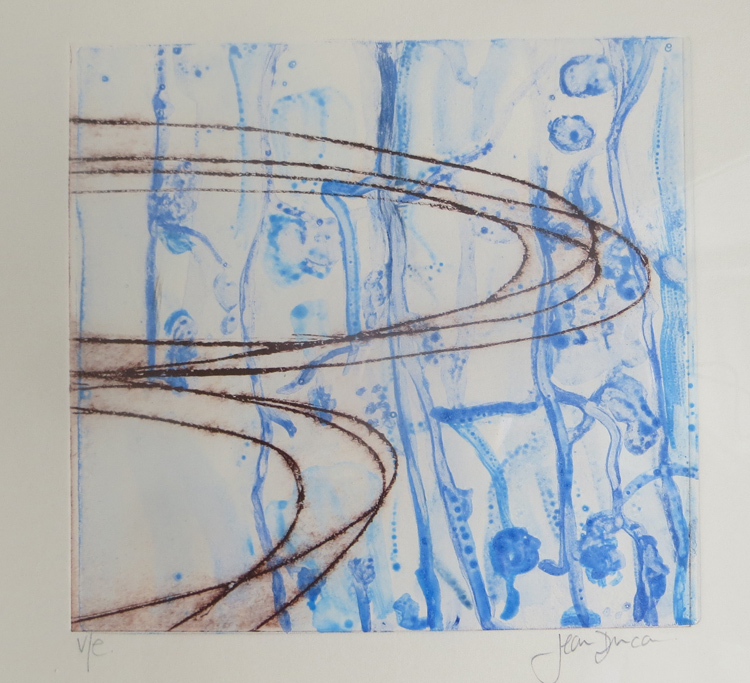
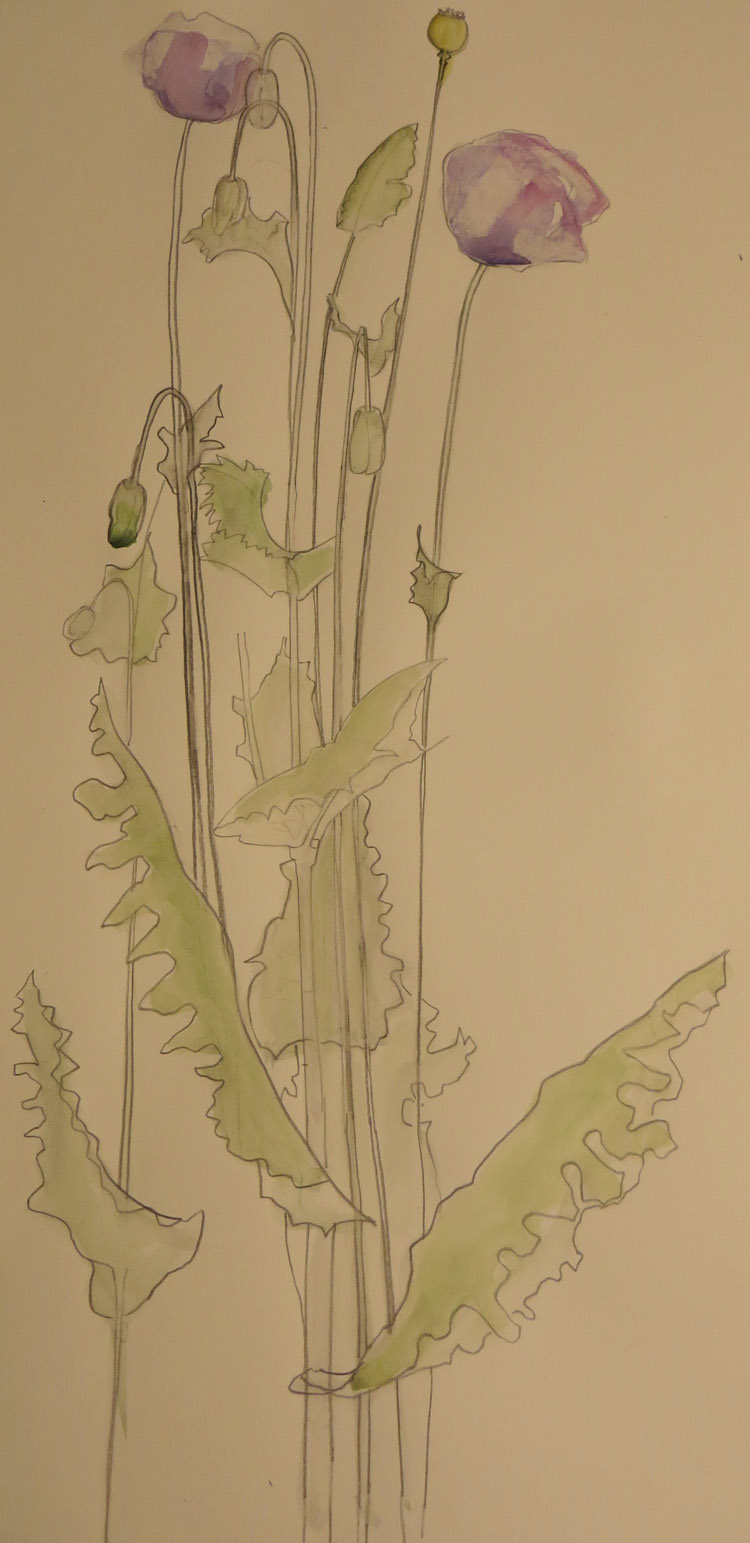
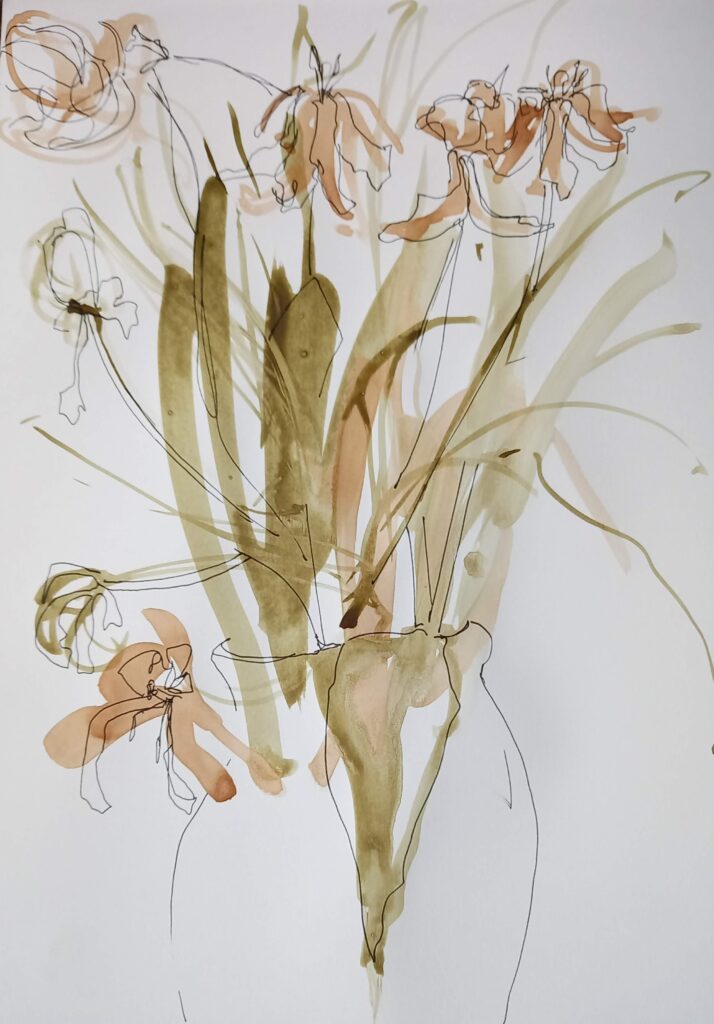
I wanted to make my own inks and watercolours to help create a sense of place in my drawings through botanical colours from my local environment, while consciously moving away from synthetic printing colours which are often unpleasant to use, toxic and harmful to people and the environment.

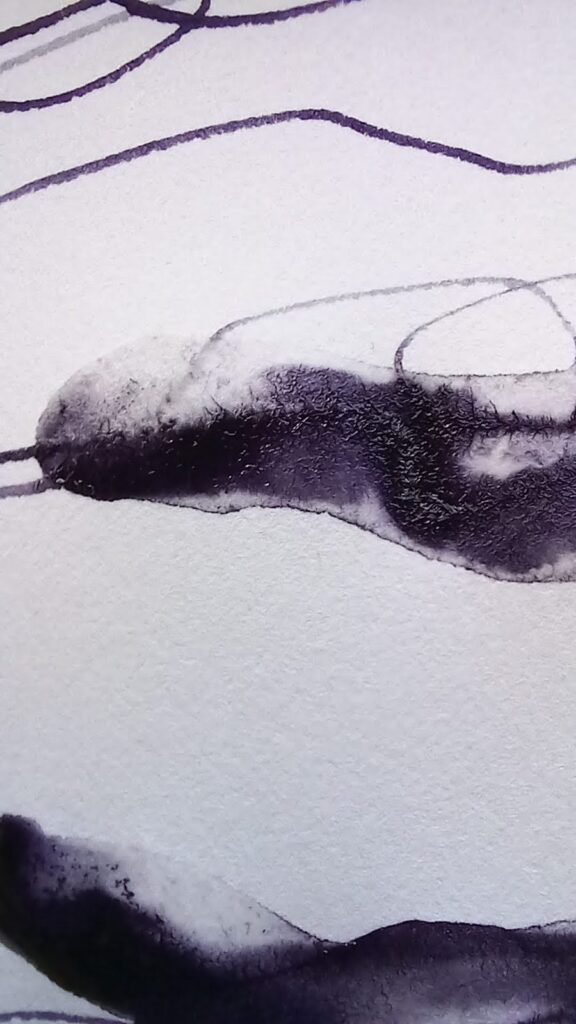
The photograph above shows a blend of colours produced on paper by oak gall ink and barley ink, the latter from orzo, a caffeine-free drink made from barley.

Colours from oak gall, onion skin and coreopsis – drawing by Jean Duncan

There are many artists and artisans working in this way and small businesses are leading the way in using locally sourced materials and natural dyes to make cloth that at the end of it’s life can be put back into the earth as a biological nutrient rather than a pollutant. I have given links below to two Fibreshed businesses working in this way [3, 4] and to an article on making ink from up-cycled coffee grounds [5].

Hand-bound sketchbook with oak gall, indigo and ochre cover

[1] To buy oak gall ink: George Weil fine art and craft supplies.

[2] Sakura Tohma (2015) Making and testing Iron Gall ink. West Dean College web site.

[3] Bristol Cloth – wool and botanical inks: South West England Fibreshed.

[4] More Fibreshed – Wool from the border between the Yorkshire Dales and Cumbria, : Laura’s Loom.

[5] European Horizon magazine: Eco espressso and upcycled inks set to make coffee greener. Some interesting facts in this article: black printing ink is more expensive than Chanel No 5, and the daily ‘waste’ in coffee grounds is equal to the weight of three Eiffel Towers!

Jean Duncan is based in Fife. See her web site at JeanDuncanArtist. Jean has worked with the Living Field on many projects, exhibitions and events – her work is profiled at this Living Field page.

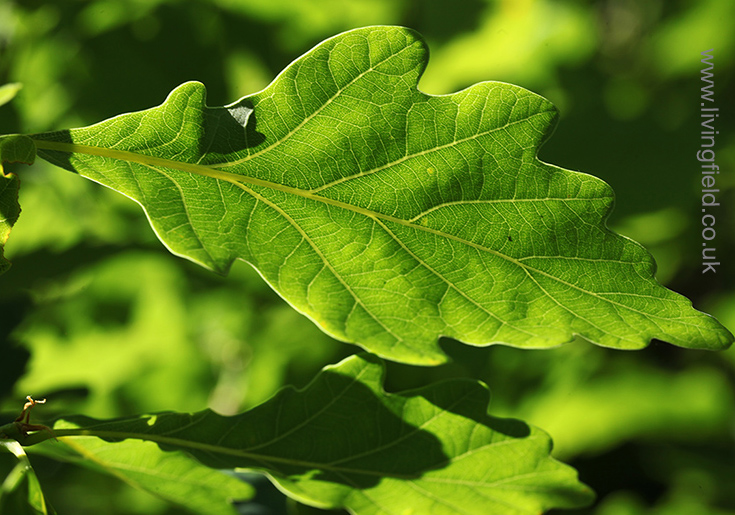
The photographs below are of an oak gall and oak leaf from the Living Field collection

Oak gall in late June (www.livingfield.co.uk))
Oak leaf (www.livingfield.co.uk)

Maize paper

Most of our paper comes from plants, but the process by which leaves and stems are converted to sheets that we can write on or wrap things in is unknown to most of us.

As part of her work with the Living Field, Jean Duncan has been making paper from plants grown in the garden.

She started with some maize, which is a tropical and sub-tropical species originally from the Americas. Some types can now grow in our climate, and it was one of these that was grown in the garden for its cobs (corn on the cob).

Jean used the maize plants to make the paper. Here is a description of what she did.

Step 1 is to collect maize leaves and stems when they are in good condition, still green.

lf_jd_mzppr_mzlvsct_750_jd

Step 2 is to cut the leaves and stems into small pieces. Leaf pieces should be about the size of those in the white bowl. The tough stems were cut into larger pieces (right  below).

lf_jd_mzppr_nthpt_jd_750

Step 3 – put the cut material into an enamel bowl or pot (above left). Add soda ash to the material, 1 teaspoon for a 10 litre pot, and mix.

Step 4 – cook the plants for 3 hours, or more if the material is tough. At this point you will need pH indicator strips (litmus paper) to check that the cooking is going according to plan. (Litmus can be bought on-line or at some gardening shops.) The pH of the mixture should be around 8, but if it drops to 7 or 6 then add a little more soda ash. When cooked, the fibre should be soft and easy to tear.

Step 5 – rinse the fibre thoroughly in water; when fully rinsed the pH or the water should be neutral (i.e. about 7).

lf_jd_mzppr_fbrmdstd_750_jd

Step 6 – the fibre now needs to be beaten to a pulp. The traditional way is to beat it with a mallet for a few hours. (Craft-workers in some countries still use this method).  An alternative, if you have electricity, is a kitchen blender working in short bursts so as not to burn out the motor. Jean uses a machine called a Hollander beater.

Step 7 – the fibres are now ready to be transformed into sheets of paper. The pulp is suspended in water. A ‘mould and deckle’ is lowered into the water (image above) and brought out slowly with a flat layer of fibre on it, or else the pulp is poured into the mould and deckle until there is a flat layer of the right thickness for the type of pulp (which you work out by trial and error); the water drains out through holes leaving the moist fibre.

Step 8 – the moist sheet of fibre is  turned onto an absorbent fabric  or board or something similar for drying and pressing, a procedure that takes about 3 days (top right in images below).

lf_jd_mzppr_shtstchngs_jd_1100
Maize paper: lighter sheet (top left) is from the husk round the cobs, the darker sheet from stems; etchings below of root cross sections (Jean Duncan)


And that’s it – a sheet of paper!

Info, links

Khadi papers India. Web site: khadi.com. Youtube: Papermaking at Khadi Papers India

Jean’s recent work on an exhibition of etchings using her own-made paper: The Beauty of Roots and Root art.

[Update with minor amendments 10 June and 27 July 2017]

Sectioned II

Our artist friend, Jean Duncan has been trying out new techniques, getting inspiration and materials from the Living Field garden and from microscopic sections of roots. Jean writes about her depictions of brassica roots:

“The print is an etching made on a zinc plate by drawing with a needle into soft wax and then etching the lines in copper sulphate. Ink is rubbed in to the etched lines and then printed on wet paper.

lf_jd_brsscrtsctn2_gs_750

“My idea is to print root sections and plant drawings on to plant papers. I want to combine ancient techniques of papermaking with the latest microscopic images in a way that will highlight the plant’s diversity and engage people in how plants can enrich soils as well as provide food.

“For papermaking, the most successful fibres so far have come from maize stalks from the Living Field garden. These are chopped and simmered for several hours in soda ash to break down the fibres. The long fibres are then bashed further in a Hollander beater like a large grinder. Sheets of paper are then formed on a mould and stacked for printing or casting. Wet paper sheets can be pushed into plaster moulds of the plants and roots and when they dry the plant is embossed into the paper.

“So it’s a long process but I am currently working on a latex cast of a plant root and it’s been successful so far. It may even be useful to scientists as a way of preserving the fragile roots in a way that means they can be handled without being damaged.

Sources/contacts

Jean Duncan on this web site (with links): art/jean-duncan

The original microscopic cross section of a root was provided by Robert Baker of the Department of Botany, University of Wyoming. [Ed: the original links given for this image are no longer active but are retained for reference – http://www.robertlbaker.org and http://www.macromicroscopic.com ]

Here it is.

brapa_rootxc_rb_1100

And thank you for allowing us to use it on this site.

[More to follow from Jean’s experimenting ….]

Opium poppy by Jean Duncan

Jean's watercolour sketch of opium poppy in the Living Field garden, July 2014 (Jean Duncan)
Jean’s watercolour sketch of opium poppy in the Living Field garden, July 2014 (Jean Duncan)

For the 10-year celebration, Jean spent time in the Garden looking and sketching, assembling material for teaching and an ebook. The opium poppies Papaver somniferum were a fine sight, but short-lived, this warm year. See also … Jean Duncan’s page, Metamorphosis, the garden’s Medicinals page.